Let's Connect Shadows
06 Nov 2013Introduction
This is a hack I did for the inagural Night\Shift event in Kitchener, Ontario. A friend conceived of a wonderful display for Night\Shift, my role was to add a bit of technology to the mix.
The Kinect was meant to replicate the experience of walking through the cards, but in a more abstract/virtual space. The Kinect detects users passing through it’s FOV and converts them to silhouettes that then interact with the physics simulation of the hanging cards.
The Inspiration
The original idea for the Kinect display came from this Kinect hack. The goal was to have something similar that would capitalize on the night environment and setting of Night/Shift and tie it to the idea of Let’s Connect.
Unfortunately, this Kinect hack is scant on details. The developer’s website talks about the purpose of the project, but omits the technical details needed to make it work. Some googleing eventually led to this tutorial for converting a Kinect user into a silhouette and interacting with simulated objects on-screen. This became the starting point.
Technical Hurdles
While installing the OpenNI drivers and processing 2.1 was fairly straightforward, trouble started when attempting to use SimpleOpenNI. Attempts to run a basic sketch with SimpleOpenNI resulted in the following error:
Can't load SimpleOpenNI library (libSimpleOpenNI64.so) : java.lang.UnsatisfiedLinkError: /home/alex/sketchbook/libraries/SimpleOpenNI/library/libSimpleOpenNI64.so: libboost_system.so.1.54.0: cannot open shared object file: No such file or directory
Oops.
$ apt-cache search libboost-system
libboost-system-dev - Operating system (e.g. diagnostics support) library (default version)
libboost-system1.46-dev - Operating system (e.g. diagnostics support) library
libboost-system1.46.1 - Operating system (e.g. diagnostics support) library
libboost-system1.48-dev - Operating system (e.g. diagnostics support) library
libboost-system1.48.0 - Operating system (e.g. diagnostics support) library
Turns out that Ubuntu 12.04 only ships with libboost-system up to 1.48.
After some unsuccessful attempts to get libboost-system 1.54 installed - including nearly breaking my system by screwing up apt dependencies - I finally found an inelegant, but working solution.
# ln -s /usr/lib/libboost_system.so.1.46.1 /usr/lib/libboost_system.so.1.54.0
I guess this library’s ABI hadn’t changed in any way that mattered to SimpleOpenNI between versions. Good thing, too.
The Code is Out of Date
Next I tried to run the code in the first part of the silhouttes tutorial. No such luck.
The function enableScene() does not exist.
A little more googling revealed that the SimpleOpenNI API had changed and the
tutorial was out of date. Apparently enableScene and sceneImage functions
were now enableUser and userImage. Unfortunately simply replacing one with
the other did not fix the problem. Instead enableUser returned an error.
After some more fiddling, it seems as though the depth image needs to be
enabled before you can enable the user image. Adding enableDepth to setup()
allowed enableUser to complete successfully.
Progress
At this point I was able to get the user image and display it on-screen. It looked something like this.

The problem here is that the user image (blue silhouette) is mixed in with the depth image (greyscale). The only way to get rid of the depth image seemed to be to disable it, but this broke the user image in the process. After examining the SimpleOpenNI code and failing to find a solution, I used a brute-force approach.
cam = context.userImage();
  cam.loadPixels();
  color black = color(0,0,0);
  // filter out grey pixels (mixed in depth image)
  for (int i=0; i<cam.pixels.length; i++)
  {
    color pix = cam.pixels[i];
    int blue = pix & 0xff;
    if (blue == ((pix >> 8) & 0xff) && blue == ((pix >> 16) & 0xff))
    {
      cam.pixels[i] = black;
    }
  }
  cam.updatePixels();
Since the depth image is purely greyscale, filtering out all pixels where the red, green, and blue channels were identical left me with just the user image.

At this point I was able to reproduce the demo in the tutorial - with polygons falling from the sky and interacting with the user’s silhouette.
Adding the Cards
As mentioned in the introduction, the purpose of this hack was to create a virtual representation of the Let’s Connect installation. This meant that the polygons in the scene should look and act like the physical cards. Since the tutorial used PBox2D for running the physics simulation of the polygon interactions, I decided to modify the polygon code in the tutorial for my purposes.
Step one was modifying CustomShape class to always draw a card-shaped polygon
at the chosen location instead of randomizing what is drawn. The makeBody
method was modified like so.
void makeBody(float x, float y, BodyType type) {
    // define a dynamic body positioned at xy in box2d world coordinates,
    // create it and set the initial values for this box2d body's speed and angle
    BodyDef bd = new BodyDef();
    bd.type = type;
    bd.position.set(box2d.coordPixelsToWorld(new Vec2(x, y)));
    body = box2d.createBody(bd);
    body.setLinearVelocity(new Vec2(random(-8, 8), random(2, 8)));
    body.setAngularVelocity(random(-5, 5));

    // box2d polygon shape
    PolygonShape sd = new PolygonShape();
    toxiPoly = new Polygon2D(Arrays.asList(new Vec2D(-r,r*1.5),
                                           new Vec2D(r,r*1.5),
                                           new Vec2D(r,-r*1.5),
                                           new Vec2D(-r,-r*1.5)));

    // place the toxiclibs polygon's vertices into a vec2d array
    Vec2[] vertices = new Vec2[toxiPoly.getNumPoints()];
    for (int i=0; i<vertices.length; i++) {
      Vec2D v = toxiPoly.vertices.get(i);
      vertices[i] = box2d.vectorPixelsToWorld(new Vec2(v.x, v.y));
    }
    // put the vertices into the box2d shape
    sd.set(vertices, vertices.length);
    // create the fixture from the shape (deflect things based on the actual polygon shape)
    body.createFixture(sd, 1);
  }
Instead of using toxiclibs to build a polygon from an appropriately shaped ellipse, this sets the four vertices of the polygon by hand. The result is rectangle whose length is about 1.5 times its width.
Another key change was setting bd.type to a dynamic value passsed in at
creation. This allows static (not moving) polygons to be created, which will
serve as the anchors for each string of simulated cards.
A String of Cards
With the ability to draw single cards, it was time to put multiple cards together into a string. To connect the cards I used PBox2D distance joints between each card. The joints were attached off-center on each card to keep the cards lined up vertically once gravity was applied.
To keep things simple, a function was used to create a single string (top to bottom).
void drawString(float x, float size, int cards) {

  float gap = kinectHeight/cards;
  CustomShape s1 = new CustomShape(x, -40, size, BodyType.STATIC);
  polygons.add(s1);

  CustomShape last_shape = s1;
  CustomShape next_shape;
  for (int i=0; i<cards; i++)
  {
    float y = -20 + gap * (i+1);
    next_shape = new CustomShape(x, -20 + gap * (i+1), size, BodyType.DYNAMIC);
    DistanceJointDef jd = new DistanceJointDef();

    Vec2 c1 = last_shape.body.getWorldCenter();
    Vec2 c2 = next_shape.body.getWorldCenter();
    c1.y = c1.y + size / 5;
    c2.y = c2.y - size / 5;
    jd.initialize(last_shape.body, next_shape.body, c1, c2);
    jd.length = box2d.scalarPixelsToWorld(gap - 1);
    box2d.createJoint(jd);
    polygons.add(next_shape);
    last_shape = next_shape;
  }
}
Note that the first polygon is of type BodyType.STATIC and is drawn
off-screen. This polygon is used as the anchor for the string. The remaining
polygons are dynamic and attached to each other as described previously. The
spacing between polygons is chosen based on the height of the Kinect image and
the number of polygons that are in the string.
Multiple strings were drawn by calling drawString repeatedly.
float gap = kinectWidth / 21;
for (int i=0; i<20; i++)
{
drawString(gap * (i+1), 2, 10);
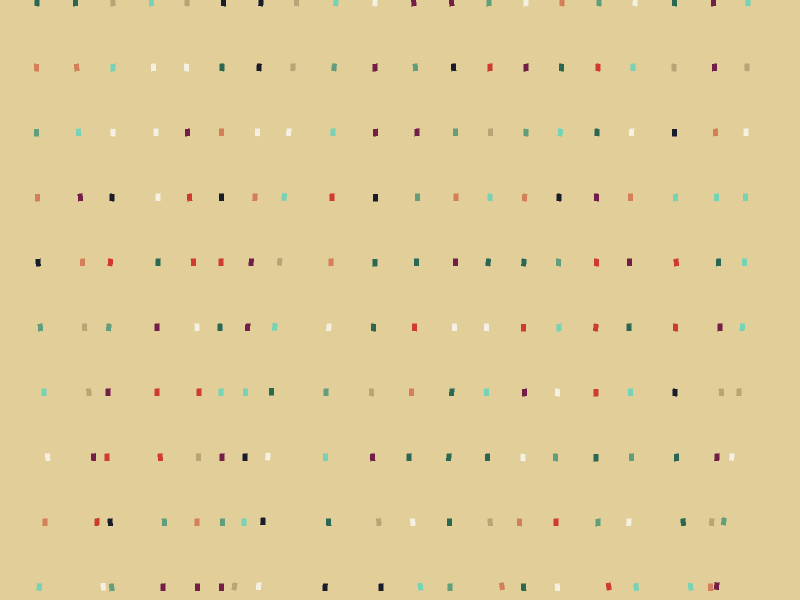
}The result looked like this.
Putting it All Together
With the user image issues resolved and the cards hanging, passersby at Night\Shift could now interact with the virtual cards on the display as they walked by.
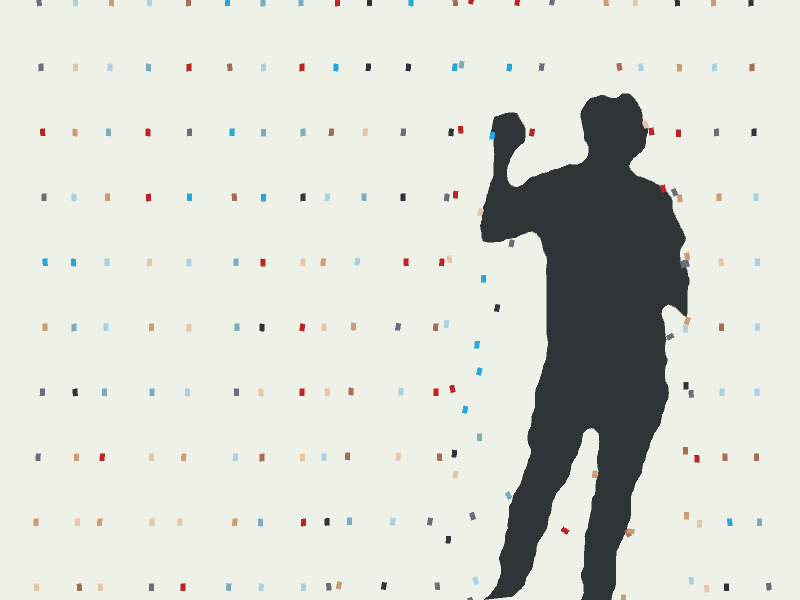
A video with the Kinect hack in action can be found on vimeo.
Overall, the night was a huge success, a big thanks to @kymchiho and Chris Mosiadz for the inspiration and making the rest of Let’s Connect possible. I think everyone involved had a great time!
The complete code for this Kinect hack can be found on my Github account.